
Hello, ShabbyNChic readers! It's Blessy here from Stellar Tatter sharing a little project that I have been working on during these past few days (with the help of my sister). This is my first time guest posting, so I'm very delighted and excited and I hope you will enjoy this simple upcycling project which you can also try making in your spare time.
I have these nine wooden photo frames that were sitting around in my room, waiting for the perfect opportunity to be used. My original plan was to use them to display retro-inspired craft paper and hang the frames one by one above my bed to compensate for my lack of a huge headboard. But one time, I found this beautiful framed vintage print at the thrift store and decided that I wanted that better as a space-filler above my head; so my lonely frames were left once more to rekindle with the dust under my bed.
But not for long! Because here they are being transformed into something cottage chic!
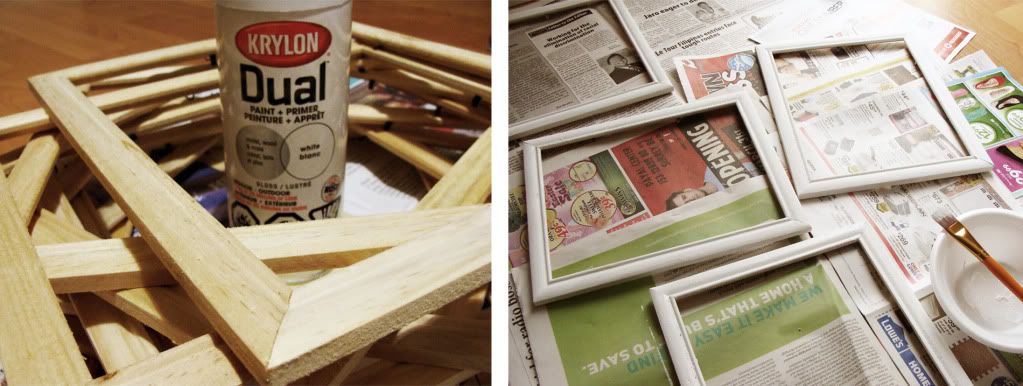
I took out the glass and the cardboard backing from each frame (saving them up for another project) and painted the natural wood with white acrylic paint. This is my first time to use paint for repurposing items, so I feel like I made a silly mistake of using a spray can when I could probably just used a good ol' paintbrush. It was faster, though! For touch-ups, I still had to do with the brush.
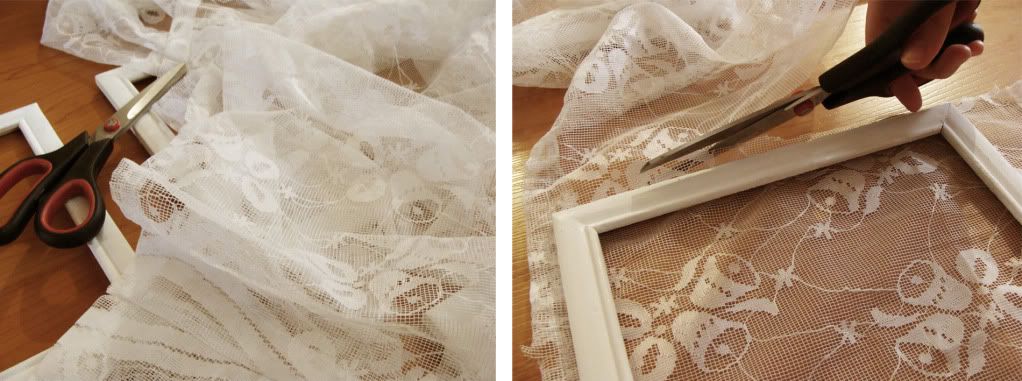
I bought this long strip of lace curtain at the thrift store which I cut into rectangular pieces that were large enough to fit the entire frame. As it turned out, the length was perfect for nine frames! Whew, didn't have to make another run to get an extra one! If you ever decide to try this, too, you can use any old lace curtain or fabric that you have in hand.
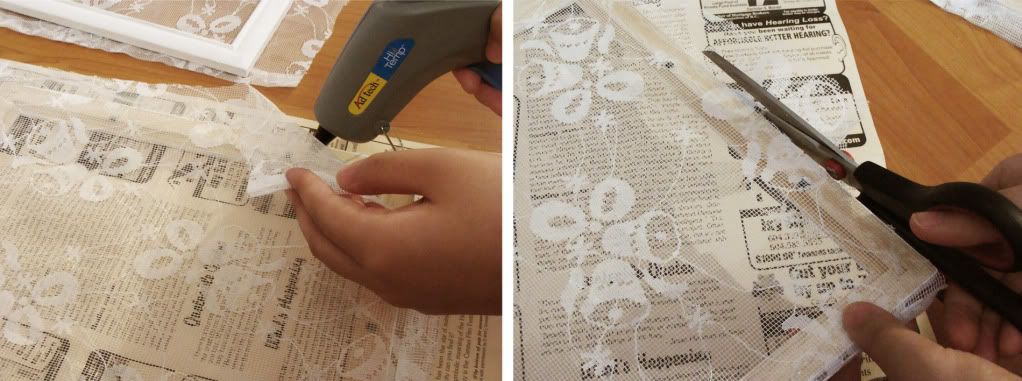
Using a glue gun, I glued the fabric onto the frames, leaving little gaps in the middle for inserting strings (see photos below). At first, I was applying the hot melted glue on the wood before I let the fabric sit on it (as seen in the photo above), but later on, I've decided to lay the fabric on the wood and then let the glue seal the two by applying it on top. That made them stick together better and more securely. When the glue had finally cooled and hardened, I trimmed the excess material off of the sides of the frames.
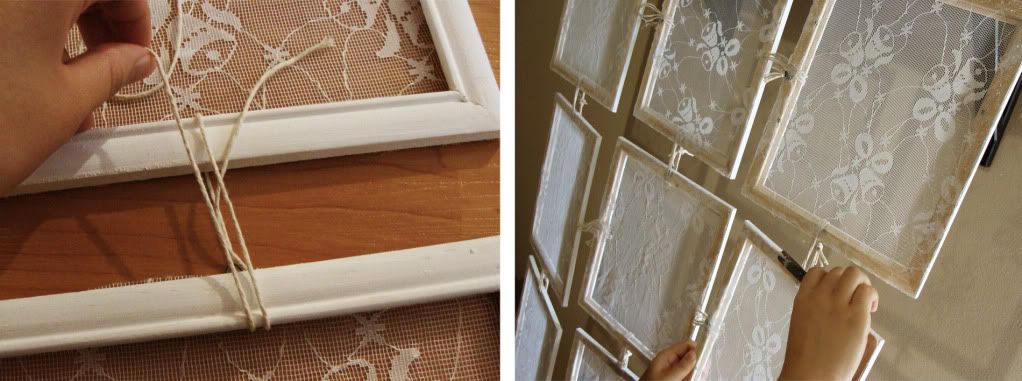
To join them all together, my sis and I tied them up with hemp twine, inserting the strings into the unglued slots. A little more trimming and we're all done! We also used twine to hang them up, but you can use ribbons or long chains (which I would've used if they were available to me).
Et voilà! A cottage-chic hanging decor that can be used for tons of purposes!
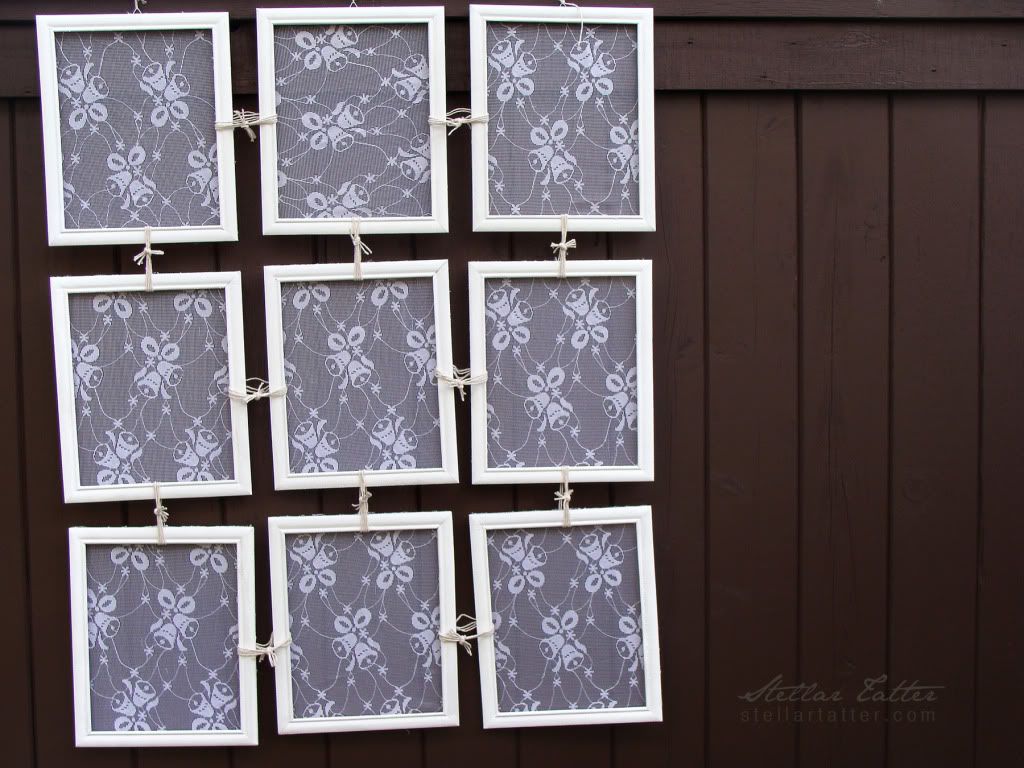
Aside from being a wall decor, it could also serve as a room divider (add more frames to fit the space!). It could also be a fun alternative to curtains! Or if your bed is headboard-less like mine, then this would make for a pretty country chic headboard! Whatever it may end up being used as, it would really be a nice focal point. And the best thing of all, it was pretty cheap to make! For $15 or less, you can have your very own framed lace hanging decor. If you're super resourceful, you might end up not having to pay a buck.
Have fun and happy crafting!
A very special thank you to ShabbyNChic for having me here! I had fun making this for her blog. Hope to catch you all as well on the other side at my online abode, Stellar Tatter. Drop by sometime and bring biscuits! :)
**You can also find Blessy on Twitter and Facebook.
A very special thank you to ShabbyNChic for having me here! I had fun making this for her blog. Hope to catch you all as well on the other side at my online abode, Stellar Tatter. Drop by sometime and bring biscuits! :)
**You can also find Blessy on Twitter and Facebook.